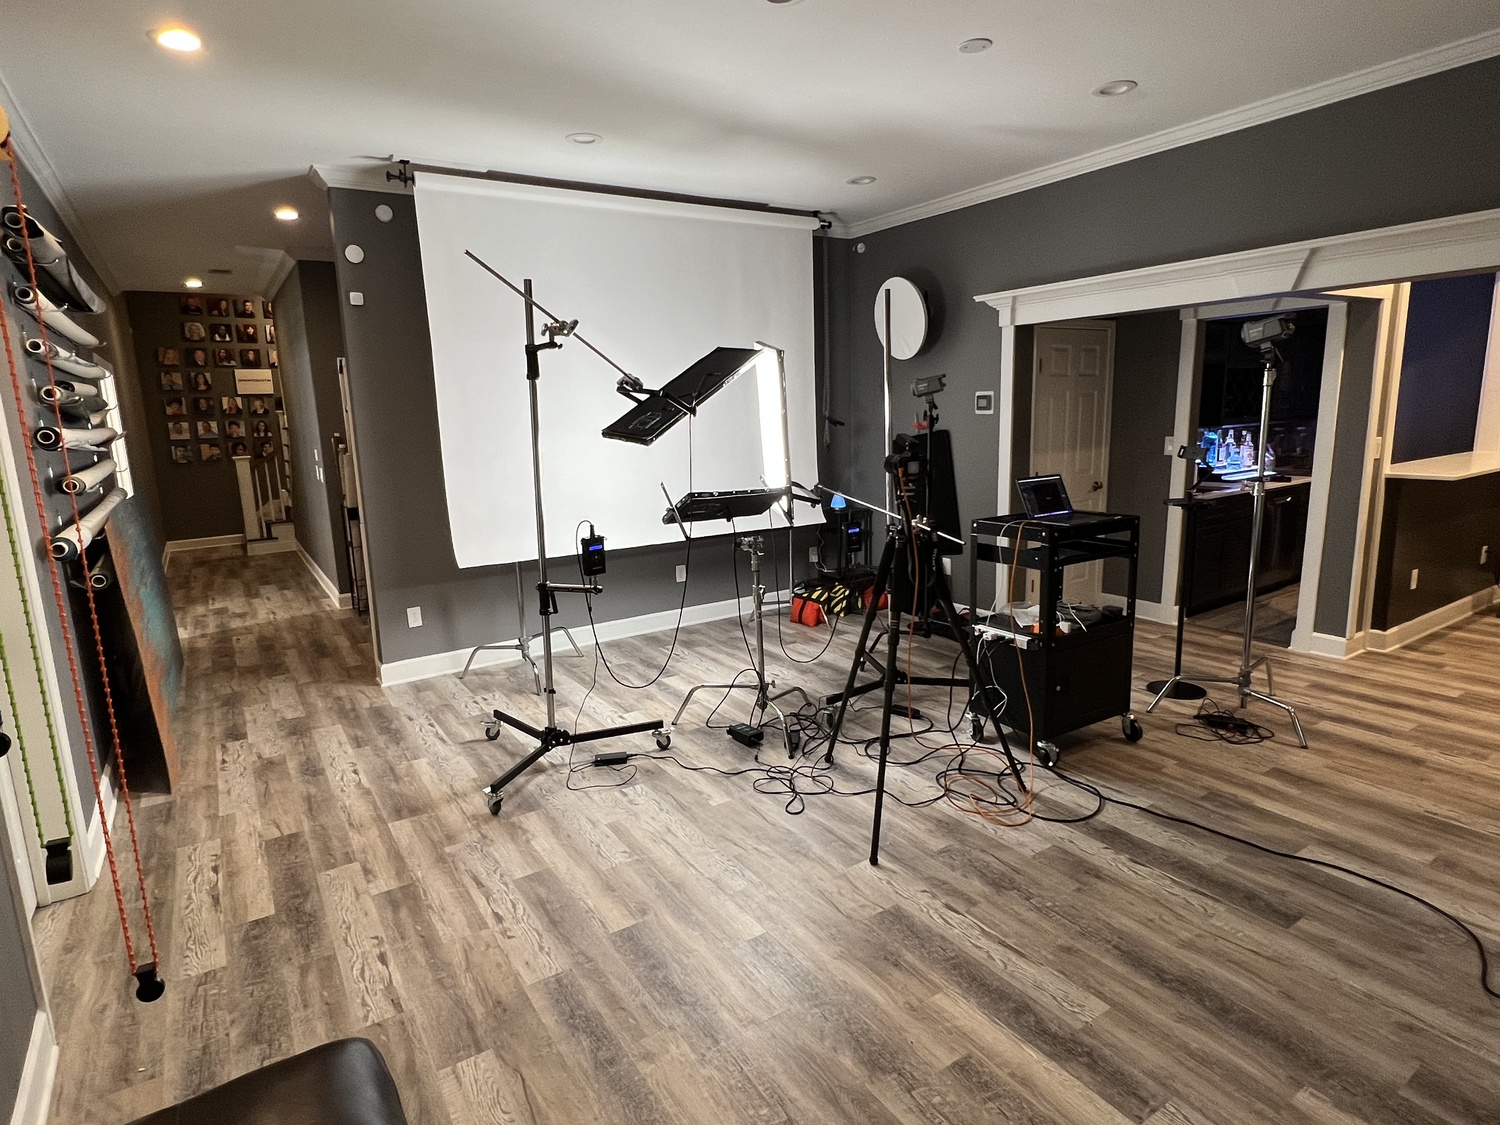
Do you dream of capturing professional-quality photos but don’t have the budget for a dedicated photo studio? Whether you’re a blogger, influencer, or running a business, hiring a freelance photographer can be a great solution. However, if you prefer a hands-on approach, our team has compiled tips for creating a home photo studio without breaking the bank.

Why Create a Photo Studio at Home? Creating a home photo studio offers the advantage of obtaining high-quality professional photos without a significant financial investment. It provides a space for creativity, allowing you to explore various photography styles such as portraits, still life, and scenes. Setting up a studio at home also offers flexibility in terms of space and allows you to experiment with lighting, shadows, contrasts, and backgrounds.
The Prerequisites for Creating a Photo Studio at Home: Before diving into the process of creating a home photo studio, it’s crucial to identify the purpose and type of photos you intend to take. Consider whether you’ll be focusing on portraits, product shots, full-length photos, or outdoor photography. The type of photos will influence the workspace and equipment needed.
Set Up a Dedicated Workspace:
- Choose a Suitable Room:
- If possible, select a room with natural light.
- Ensure the room is spacious enough for your photography needs.
- Consider a room where you won’t need to dismantle equipment frequently.
- Utilize Natural Light:
- Natural light is beneficial for creating a soft and natural look.
- Arrange the room to make the most of available natural light.
- Draw curtains or close shutters when natural light is not required.
- Removable Photo Studio:
- If dedicated space is limited, opt for a removable photo studio.
- Requires a clear space, and the size depends on the subject’s volume.
- Allows flexibility for outdoor shoots and requires storage space.
The Equipment Needed:
- Choosing the Right Camera:
- Define your photography needs, whether macro, portraits, or studio shots.
- Consider image quality, optical quality, creative possibilities, and budget.
- Cameras like Canon EOS 850D offer a balance of features for beginners.
- Lighting:
- Invest in multiple light sources, including studio flash, cobra flash, continuous light, or natural light.
- Godox Speedlite cobra flash provides a natural rendering suitable for various occasions.
- Use light modifiers like softboxes, umbrellas, and honeycomb grids for effects.
- Backgrounds:
- Choose studio backgrounds for practicality and quick setup.
- Opt for a white background for versatility, easily retouched in post-production.
- Softbox:
- Ideal for product photos, providing homogeneous and shadow-free lighting.
- Portable mini studios offer a low-cost and easy-to-install option.
- Light Modifiers:
- Folding reflectors help control light for soft and even illumination.
- Softbox windows project light from a flash, essential for home studios.
- Accessories:
- Tripods, background supports, packshot tents, and other accessories enhance your setup.
- Consider a remote shutter release, clips for holding backgrounds, and a dedicated workspace.
Tips for Creating a Photo Studio at Home: Explore mini-studio creation kits for a budget-friendly option. Many kits are available, requiring minimal materials and providing a cost-effective solution for creating a home photo studio.
Conclusion: With the right equipment and a thoughtful setup, creating a home photo studio is an achievable goal. Whether you’re aiming for professional portraits, product shots, or artistic compositions, these tips and tricks will help you embark on your photography journey without breaking the bank. Take advantage of the creative possibilities a home photo studio offers and let your imagination shine.
